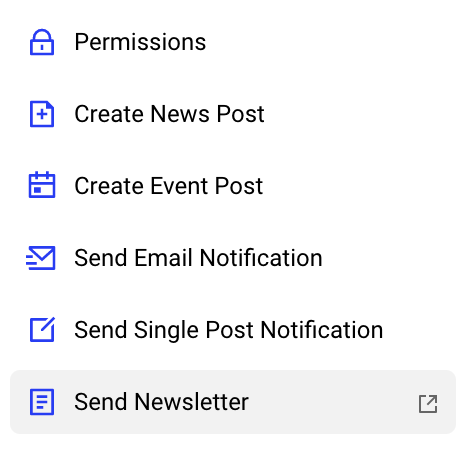
To create a Newsletter, click the Send Newsletter shortcut from the left menu on Equiem One. This will open the Newsletter creation page of the CMS in a new tab.
Alternatively, if you are already in the CMS, navigate to the Communications tab from the menu at the top of the page. Select Newsletter > In Progress.
Select Newsletter, then In Progress.
Press the Create button and select your site from the dropdown list. Then press Select. Your newsletter draft will be created, automatically pulling the site's branding for the newsletter header and footer.
Complete the Subject field of your newsletter. This will be the first thing shown in your recipient’s inbox so make sure it’s short, snappy and uses plenty of keywords to entice occupiers to open the newsletter. We recommend using a Call to Action here, such as "Tell us your feedback" or "RSVP to our event". The subject is a mandatory field and needs to be completed to both schedule and save your newsletter in Draft.
The Excerpt is the best field to give more information on your newsletter and has a 300-character limit to highlight the key points of your newsletter and encourage occupiers to take action. The Excerpt is optional but we recommend including one.
To insert posts, click on the Add Post button. Use the search bar to find your desired posts.
To add these posts, click on the heading so it’s highlighted in green and the blue tick is shown. Then click the Save button. Repeat this until you have added all desired posts.
You can select a maximum of 8 posts to be included in your newsletter. Please note these posts must already be live or scheduled to go live on your platform. You can see this at a glance by the coloured bar down the side of the post title. Green and Purple represent Published and Published & Proofed content respectively. The publish date of the content is also displayed in red after the title for you to further check that the post will be live on the platform when the newsletter arrives in your end-users' inboxes.
To rearrange the order of your posts in a newsletter, click on the image of your post in the Newsletter build section on the left hand side, and drag it to its desired position within your newsletter.
To remove a post from your newsletter, just click the X button on the post you wish to remove.
Tip: We recommend arranging your posts in an order that reflects the predicted engagement with the post. High-engagement posts like competitions, giveaways, and timely or urgent events/building updates should take the top slots.
To send a preview of your newsletter, type the email address you want this to be sent to under the Preview section and click to Send Preview Email. This will email a preview of the newsletter, with [TEST] in front of the subject line, so it is clearly identifiable.
Tip: Whilst you are drafting your newsletter, you can hit the Save Draft button found at the bottom right-hand corner of the page. This allows you to come back in at a later date or time to amend your newsletter.
If you’d like to segment the content to a specific user audience, use the Audience button to choose which segment your newsletter should be shared with.


.gif?version=2&modificationDate=1699459062487&cacheVersion=1&api=v2&width=760&height=352)

%20(1).gif?version=1&modificationDate=1699459093783&cacheVersion=1&api=v2&width=760&height=279)
.gif?version=1&modificationDate=1699459118356&cacheVersion=1&api=v2&width=640&height=814)

